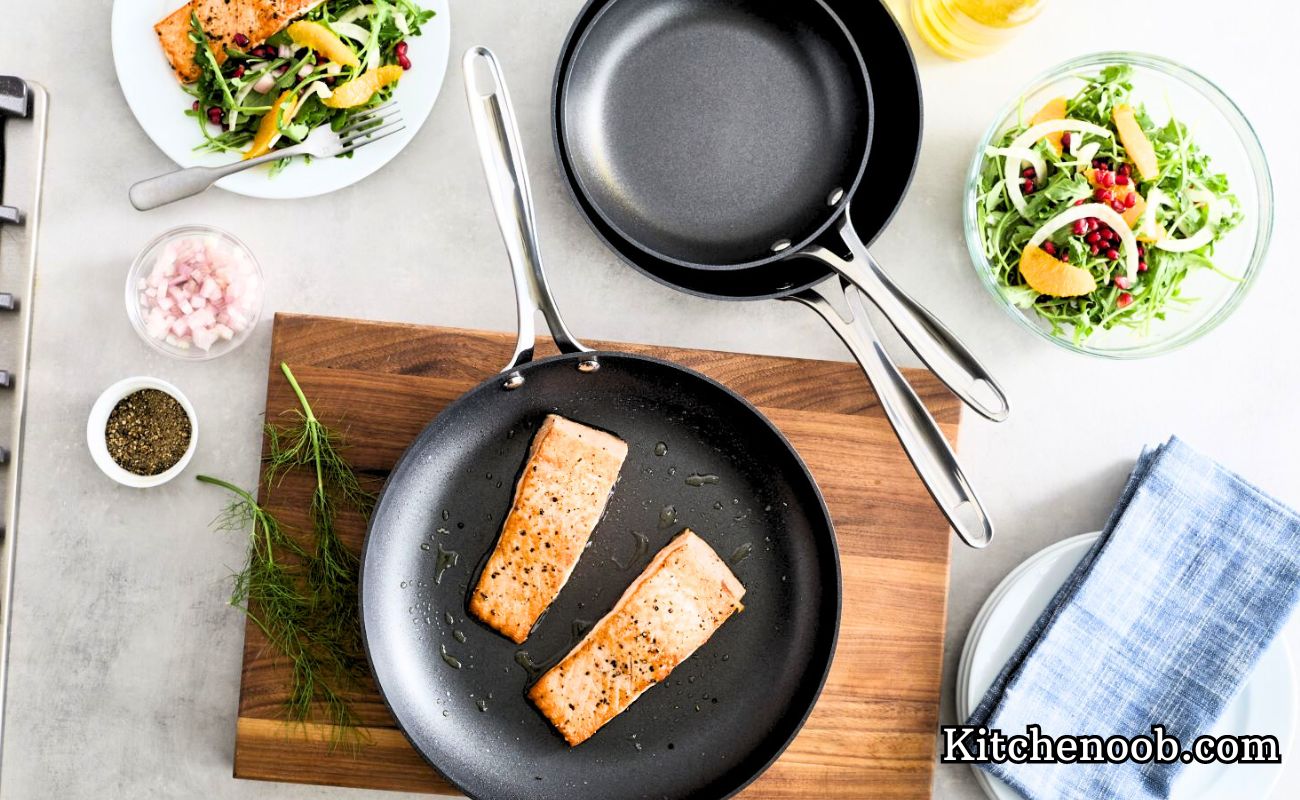
Stainless steel pans are popular kitchen tools due to their durability, conductivity, and even heat distribution. All these characteristics make them the most preferred kitchen tools.
When it comes to cleaning the stainless steel pans, the process is relatively hassle-free and does not require much of your time. With that in mind, below are some easy tips and tricks that you can apply, and these will transform your old stainless steel pans into shiny, like-new cookware.
These simple cleaning methods will also extend your stainless steel pans‘ working life and save you some bucks by excluding the need to purchase new ones.
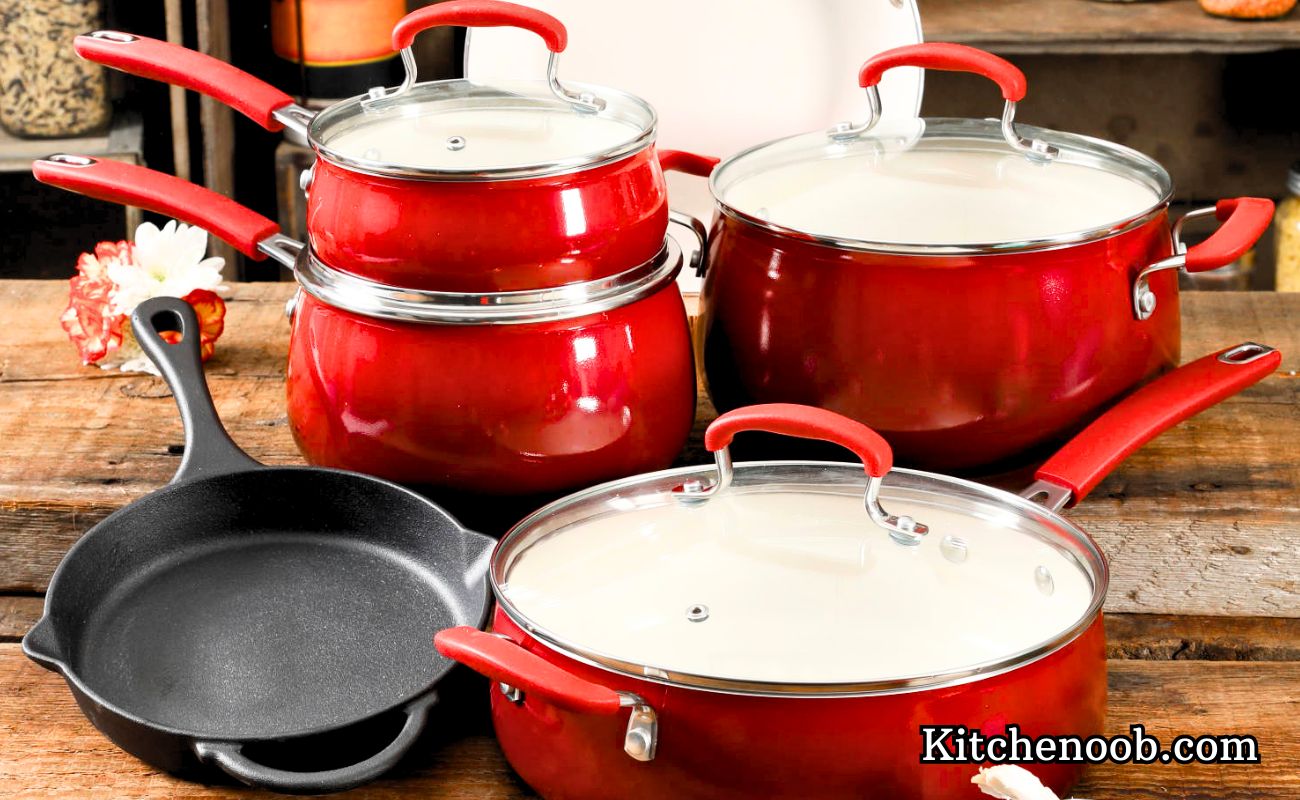
Cooking for your family every day can be a challenge, but a Red Copper pan can make it much more enjoyable. These pans prevent food from sticking, making cooking and cleaning a breeze. If you’re unsure how to use your new pan, don’t worry! In this article, I’ll provide simple instructions on how to use, season, and care for your Red Copper pan, as well as tips on when to replace it. Read on, and you’ll gain all the knowledge you need to make the most of your cooking experience!
How to Season Red Copper Pans
If you purchase a Red Copper pan, it’s important to season it before using it. Here are three simple methods to season your pan effectively:
Seasoning with Vegetable Oil:
To season your Red Copper pan, follow these easy instructions:
Wash your new pan thoroughly with soap and water to ensure it’s free from any chemicals. This step is important for safety and will help you get the best results when you start cooking!
Use a soft cloth or sponge to apply the soap and create a lather.
Rinse properly to the soup off the pan.
Dry off the pan completely
Put 1 tablespoon of vegetable oil and spread it with fingers or paper towels over the entire surface of the pan.
Turn on the stove to medium heat and put the greased pan on it.
When it starts to smoke, remove the pan from the heat and turn off the stove. This suggests that the seasoning process is finished.
Let the pan cool at room temperature for about 15 minutes. Avoid placing it in the refrigerator, as that could affect the seasoning process.
After 15 minutes, most of the oil will have dried. This helps create a good non-stick surface for your pan. Wipe off the extra oil with a soft cloth or paper towel.
Now seasoning is done it is ready to use.
Seasoning with coconut oil:
Turn on the stove and place the pan on medium heat for 2–3 minutes. This helps further set the seasoning.
Add 2 tablespoons of coconut oil to the pan and let it melt for about 3 minutes.
When it melts put off the stove and remove the pan from the stove.
Tilt the pan and move it in a circular motion so that the oil coats the entire surface evenly.
Put the pan back on the stove and heat it till it smokes.
Now, set the pan aside to cool at room temperature, making sure the oil stays inside while it cools.
Use a paper towel to clean off any extra oil. Some oil would be absorbed in the pan to fill up the pores of the pan.
Now your pan is seasoned and ready to use!
Always remember that never wash the pan after wiping the oil.
Seasoning in Oven:
You can also season your Red Copper pan in the oven by following these simple steps:
Firstly you have to preheat your oven at 149 centigrade. Remember, don’t put the pan in the oven while it’s preheating. Preheating will take about 10–15 minutes, and the oven should be fully heated before you add the pan.
Next, wash the pan with warm water. You can also use soapy water if you prefer.
Apply the soap water with a soft cloth, avoid harshly scrubbing it will damage its surface. Since all the soap is gentle with water. Make sure there is not little soap in the pan.
Dry the pan. Put 1 tablespoon of oil in the pan. Use your fingers or a paper towel to spread the oil so it covers the entire surface. Make sure to choose oil with a high smoke point.
Place the pan in the oven and cook it for 20 minutes. If you see smoke coming off from the pan, remove it from the oven.
Now let it cool at room temperature. After it cools, use a paper towel to remove any extra oil.
It would take 15 minutes. Now the pan is ready to use.
How to Clean a Red Copper Pan After Use
When you’re finished cooking, it’s time to clean the pan.
Firstly wipe off all the leftovers with a paper towel or soft cloth.
Never pour cold water on the hot pan directly. Rapid cooling can crack the surface or damage the finish.
Use warm soup water to wash it. Use a soft cloth or paper towel to apply soap. This will help prevent damage to its surface.
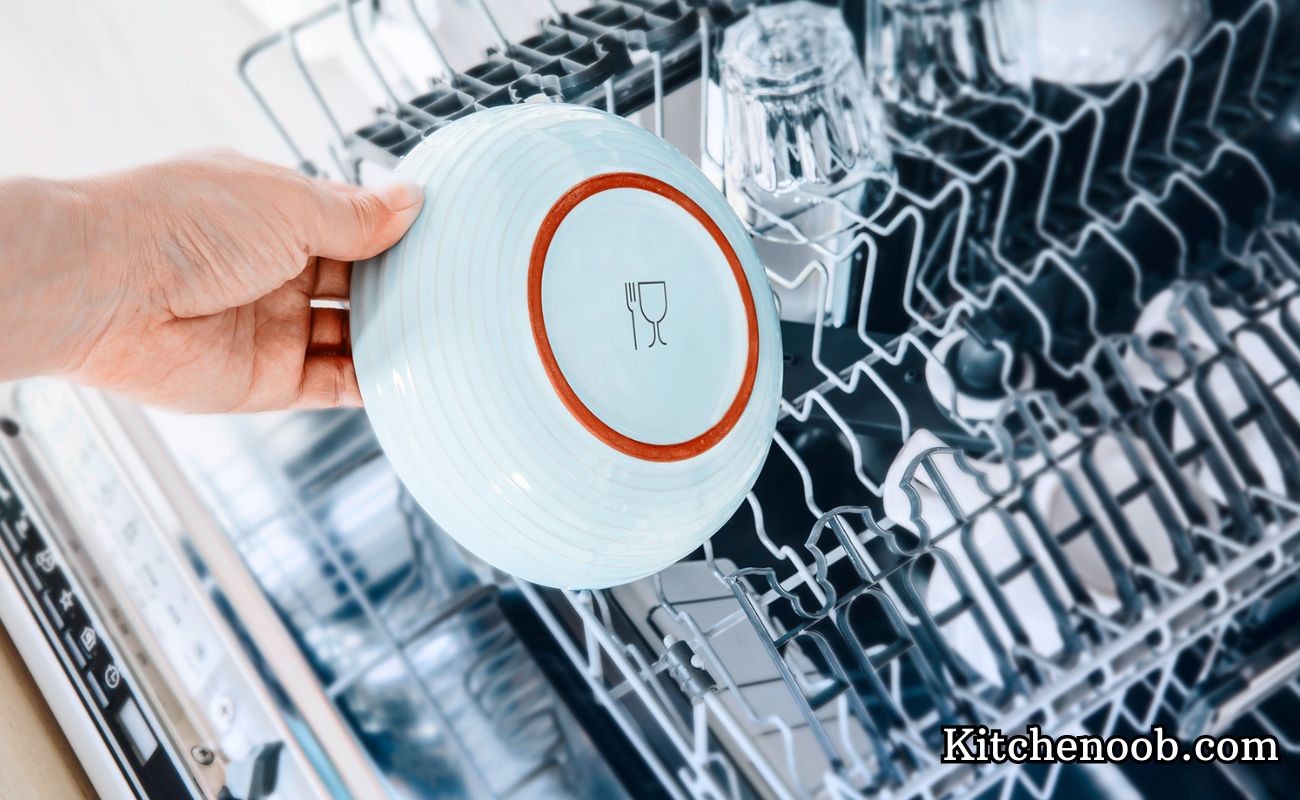
You have another option to wash it in the dishwasher. It will make your work easier.
Re-seasoning of Red Copper Pan:
If your non-sticking pan is sticking you should season it again. You should re-season your Red Copper pan now and then. If you wash it with soap, be sure to re-season it before using it again.
Seasoning of the Pan Just Before Cooking:
To protect the non-stick surface of the pan it is better to season the pan before cooking.
After cleaning and drying the pan, it’s a good idea to quickly season it before using it.
Pour some vegetable oil or butter onto a paper towel and rub it on the surface of the pan.
Avoid directly pouring oil.
Now you can use your pan to cook as you normally would.
Utensils to Use:
Avoid using metal utensils in your non-stick copper pan.
Any utensil of metal such as forks, spoons, spatulas, and knives will damage the non-stickiness of the pan.
You should use specially made utensils for non-stick pans
Never use detergent to wash utensils.
You can use wooden spoons in the pan.
Other Important Instructions for Using a Copper Pan:
Never do any sort of cutting and chopping in the pan.
To make it last a long time, wash it with soap only occasionally.
Avoid cooking in the copper pan at high heat.
Never preheat the empty pan.
Is a Red Copper Pan Safe for Cooking?
Red copper pans are safe for cooking due to various reasons. Some of these are:
Other cooking surfaces like tin, nickel, or stainless steel can make your food unsafe to eat.
The surface of red copper pans is made from ceramic material which does not have any toxins. It doesn’t release any harmful substances into the air that could hurt people or the environment.
Its non-stick surface has a ceramic finish that enhances its durability.
So it is safe to use for cooking. Cook with confidence and keep everyone happy!
When to Throw the Pan:
When the pan gets scratched on the surface, it becomes stickier, and some coating can flake off into the food, making it unsafe to use again. This can release toxic materials and chemicals.
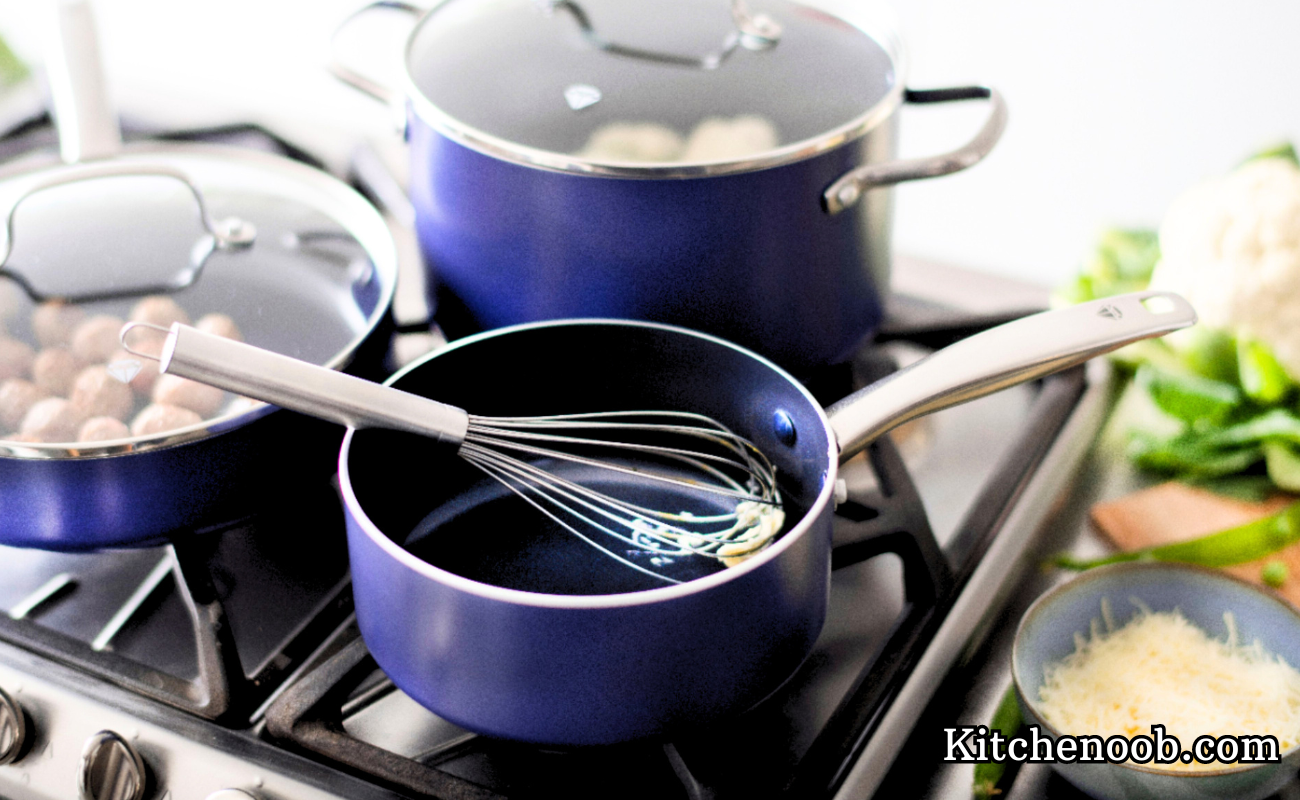
If you have researched the best cookware once or every time you thought to make a switch, I bet you might have come across a very popular name among the suggestions and that is Blue Diamond.
The Blue Diamond Pan has gained popularity among consumers and competitors alike because the company has consistently made high-quality cookware from the start. It’s worth noting that this pan has a non-stick coating all over, making it a great option to consider. If you’ve looked into it more, you might have noticed that it’s 5 times harder, lasts 10 times longer, and has 4 times better heat transfer than regular pans. It will be very helpful for a variety of dishes and is built to last a long time.
Blue Diamond Cookware Details: The Best and the Bad Parts
To see if the Blue Diamond Pan is a good fit for your kitchen and worth your money, please read the following review that details all its features one by one.
1- Dishwasher/ Oven safe
The mentioned instructions describe it to be oven safe which is always a rewarded coverage to use it for baking too. It’s also said to be dishwasher safe, making cleanup quick and easy—sometimes even easier than cooking! However, even though they say it’s safe for the dishwasher, experts usually recommend hand washing it. The recommended limit for both the oven and dishwasher is 850°F.
2- Health Security
The brand claims Blue Diamond is marked to be free of all manufacturing toxins such as PFAS, PFOA, Lead, and Cadmium. With this shield, you’ll be taking food down, but not harmful chemicals.
3- Price
In contrast to the quality, Blue Diamond does not boast high prices. This means your kitchen can benefit from having it, and you can enjoy delicious food that looks great too. Overall, it falls into the affordable cookware category.
4- Weight
Weight requires sincere consideration, forever. So the cooking time should seem and feel easy and fun rather than a tiring gymnastic hour we all secretly want to escape from. If you want to move the pan or pot to the back burner, your hand or arm should be thankful for the allotted duty instead of whining over the imposed cruelty. However, in this case, Blue Diamond pans are trusted to be lightweight.
Read more: 10 Best Non-Stick Omelette Pans
5- Looks
Beauty catches your eye, whether it’s in a person or an object. You might choose to buy something simply because you want to enjoy looking at it every day. The Blue Diamond manufacturers make their pans with high-quality materials and a stylish design, adding value to your kitchen. As with the name, Blue Diamond, it gets a Blue exterior and we all love blue for sure. Don’t tell me you don’t. We all get tired of the same dull black cookware, right?
The shiny surface of new cookware is just too beautiful to ignore!
6- Non-stick coating
Blue Diamond mainly extends the non-stick coated surface and it is the only best idea to promote wholesome food over overly-cooked oily food. I consider it a smart investment for your health, and you won’t regret it at all! The non-stick surface prevents food from sticking, making cleaning easy, and it spreads heat evenly. Plus, the best part about non-stick pans and pots is that they work well with almost all types of cooktops.
7- Longevity
Blue Diamond pans are made to be strong and reliable, so you can count on them. However, to keep them in good shape, you need to be careful when cooking. Always use wooden or plastic spatulas instead of metal ones. Avoid using metal to keep your pans safe!
8- Handles
The handles on Blue Diamond cookware are made of stainless steel, but they can get quite hot, making it uncomfortable to hold them for too long. This isn’t ideal at all! However, the handles are strong and won’t break over time. To avoid the heat issue, try cooking at a medium temperature.
Top 10 Blue Diamond Cookware Sets
Image
Brand
Features
Price
Our Pick1
5
Blue Diamond
Blue Diamond cookware doesn’t contain PFAS, PFOA, lead, or cadmium. It’s safe for the oven and broiler up to 850°F, dishwasher safe, lightweight, durable, and has a tough coating.
Ideal set in the budget to cover all needs, Glass lids, Toxin free, Broiler safe, Dishwasher safe.
Check Price
Blue Diamond
CC002447- 001 1-PC single egg panS
Egg pan for daily breakfast, Comfortable handles, Forged base, Lightweight, Durable, Effortless cleaning
Check Price
Blue Diamond
CC002534- 001 1-PC 10” frypan
Large pan to cook easily, Metal utensil safe, PFAS/ PFOA/ Lead/ Cadmium free, Broiler safe up to 600 degrees F, Prevents warping
Check Price
Blue Diamond
CC002617- 001 1-PC pan
Metal utensil safe, Broiler safe up to 600 degrees F, PFAS/ PFOA free, Lightweight, Easy to clean
Check Price
Blue Diamond
CC002532- 001 1-PC 12” frypan
Best pan in performance so far, Healthy cooking in greater size, Lightweight, Toxin-free, Dishwasher safe
Check Price
Blue Diamond
CC002512- 001 1-PC egg pan
Available in 3 colors: red, blue, green, User-friendly, Metal utensil-safe, Long-lasting, Stay-cool handles
Check Price
Wrapping Up
f you decide to get it, Blue Diamond cookware comes in both bundles and individual pans. I will recommend trying a single large pan first before buying their whole range, just in the defense of your money and taste. Good luck!
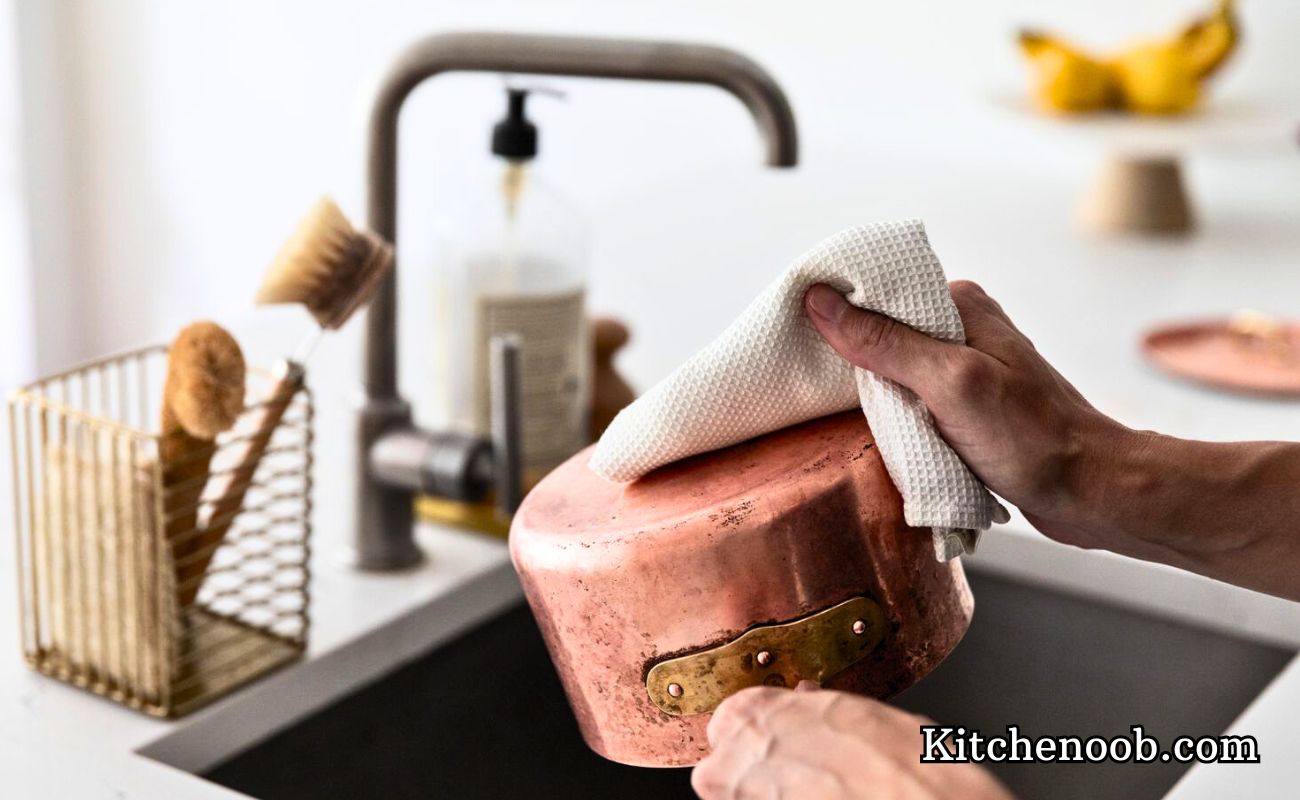
Copper pans are nowadays very popular among chefs and homemakers. When you use any type of pan in your kitchen, the last step is to clean it and sometimes it becomes very challenging. For easy cleaning purposes, you have to use non-stick pans for cooking which will make your job easier. Copper pans are the best non-stick pans which become the best choice for the kitchen. There are various easy ways to clean them.
How to Quickly Clean Your Copper Pan
Some steps should be followed for cleaning a copper pan:
When u have used the pan and now want to clean you have to put it in the sink.
It is not sufficient to clean it with just dish soap so it is recommended that you have to coat its exterior with salt, it gives shine to its outer surface.
Now add vinegar to it.
Leave it for 10 to 15 minutes.
Rinse it off the vinegar and salt.
You will see the magic.
For further cleaning, pour some vinegar on a sponge and scrub the pan with it.
You can sprinkle the salt on the surface to get better results.
At the end rinse off the pan and now it is cleaned.
Alternative Ways to Clean Copper Pots and Pans
There Are Various Methods to Clean Copper Pans
Lemon and salt
Baking soda
Ketchup
Beer
Lemon and salt:
Pour some salt into the plate.
Cut a lemon into a half.
Dip the lemon into the salt coat salt on it and scrub the pan with it gently.
At last, rinse it with cold water.
Baking Soda
When you want to enhance the quality of your pots and pans and make them shiny and bright you have to clean your pan with baking soda and you have to follow the following steps: Empty your pan. Sprinkle baking soda on the cloth. Scrub the pan with it carefully. Rinse it with clean water.
Ketchup
Pour or squeeze ketchup on the cloth. Rub that cloth on the pots and pans. In a minute they will come into copper color.
Beer
Pour beer on the surface of the dirty pan. Let it sit for a while. Wipe it off with a tissue or a soft cloth. Rinse it with cold water.
These are some of the quickest ways to make your copper pans nonstick without any ingredient that you have to buy for this specific purpose you can simply clean your copper pans with these methods, saving you time and money.
Firstly the question arises as to why we need to make a pan nonstick. So the answer to this question is sometimes the food particles e.g. Eggs stick to the pan when cooking because the pan might not be hot enough or not coated well. To prevent this from happening we need to make a pan nonstick. Making a pan nonstick is also called “seasoning”.
How to make a Pan Non-Stick
The pan becomes sticky when it has an uneven surface. The seasoning of a pan is done by making its surface smooth so we can avoid our food from sticking. There are many methods used for seasoning but the most useful ones are described below.
Make Nonstick With Coconut oil/Vegetable Ghee
Take a pan that is to be seasoned.
Now pour a high melting point oil, for example, coconut oil or vegetable ghee.
Now what you have to do is spread the oil on every side of the pan.
Now heat the pan for 2 minutes or you can use your oven at 300 degrees Fahrenheit.
After this turn off the burner and let the oil cool.
This will make the surface of the pan smoother and non-sticky.
If you can see your reflection in the pan then it’s the guarantee that you have seasoned the pan properly.
Now wipe out the extra oil with a paper towel and use this pan as it is for cooking.
You will need to do this every time you have put the pan in your dishwasher.
Make Nonstick with Table Salt
Take a pan that is to be seasoned.
Put a cup of table salt in the pan.
Spread the salt as it covers the whole surface of the pan and brown(heat) it.
Now take out the salt and be careful it will be burning hot.
Now the pan will be smoothed and nonsticky for your use.
Its surface will be reflective which assures you that it is seasoned.
Use the pan as it is.
You will have to do this every time you want it non-sticky.
Make Nonstick with Oil and Salt
The third method is to use both oil and salt at one time.
Take any high melting point oil for example take sunflower oil.
Add two tablespoons of salt in it.
Heat until the smoking point comes.
Now take out the extra oil from it and wipe out the remaining oil and salt from the pan with the help of a paper towel.
If the surface is reflective then it is properly seasoned.
Use as it is for cooking.
Repeat every time you want to make it nonstick.
How to Make a Stainless Steel Pan Nonstick
To make a stainless steel pan nonstick you have to use the high smoking point oil and use the number first method given above. It will make your pan non-stick.
How to make Cast Iron Non-stick
Repeat any of the above procedures to make cast iron nonstick. These are the most reliable and easiest ways to make an iron-cast nonstick. All the things used in these procedures are easily available and you can find them in local stores.
In a range of overused, trusted, and prominent cookware sets out there, you will find All-Clad in the first rows. If you already have it or if you are planning to have it, let me tell you cleaning is a part of cooking, right after cooking.
As people know a good number of cleaning methods, they don’t know which one to apply to which material. This is the dilemma of our society first and the kitchen later.
I have seen many people ruining their expensive and newly bought All-Clad pans just because their knowledge was deficient to give their cookware the right treatment. This ill behavior of the Chef saddens the pot or pan and it refuses to work properly, yes not suddenly but gradually with time. This is how a small child responds to your scolding, consider a pan the child too. You are simply going to lose it over some time.
What next? Buy a new pan? What about being careful in the first place rather than spending twice later?
That’s what I’ve been telling you since the beginning knowing the right cleaning method for the right cookware material is as important as having your meals daily.
I hope I’m not exaggerating with the explanation-examples. Since All-Clad is not about just one type, I am going to explain each type, for the whole All-Clad family.
Learn and spread the knowledge to other chefs.
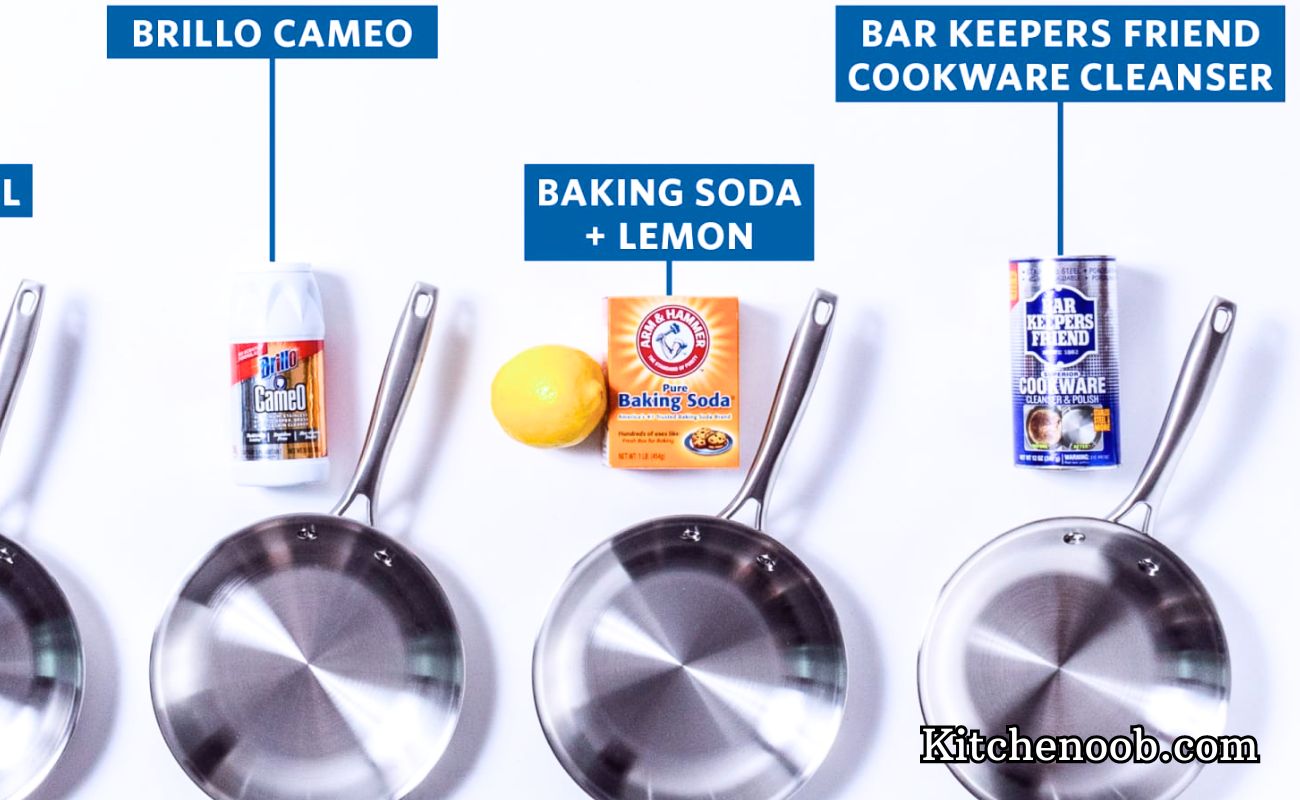
How to clean All-Clad Pans:
First of all, All-Clad belongs to one of those branches that require the least attention and care to keep going. How bad is it to not invest that little?
As far as the stainless steel line of All-Clad is concerned, it boasts its shine among other cookware types and that is what we have to take care of.
On the other hand, the other All-Clad lines like anodized aluminum brushed aluminum, and copper-coated lines are all about their surface. You get to be lenient with the coated surface otherwise it’s useless to cook in if harmed.
Though the expert says, All-Clad is safe when put in the dishwasher safe but this is a half-confirmation. The constant washing of stainless steel in the dishwasher safe is a serious situation to encounter, avoid that. However, once in a while, when you are in a hurry is okay to go with the dishwasher. There is even more comfort in preserving its youthfulness on account of its shine and performance by hand washing it.
Here’s a brief overview of some of the main lines:
Procedure
Remove your All-Clad pan from its storage spot.
Fill the sink with warm water.
Let it sit there for two minutes maximum.
Take any cleaner of your choice, Barkeeper’s Friend and Bon Ami are two of my favorites.
Apply a little cleaner inside of the stainless steel pan.
Grab a damp cloth piece and spread the cleaner on the whole pan by rubbing.
Rub, rub, rub but be gentle. Do not leave any spot uncovered in the cleaner.
Rinse the applied cleaner with the warm water.
Now apply liquid soap all over the All-Clad stainless steel pan and start rubbing gently again
Rinse with warm water.
Pat dry with a clean cloth.
Dishwasher Safe?
While it can save you time, it can cost you the other way. After all, a machine is not as accurate and sensible as a human being can be. Though I support hand washing no matter which type is, if you don’t, it’s okay just avoid doing it regularly. As regards the dishwasher, if you own stainless steel or copper All-Clad, there is a green signal for you, fortunately. A big NO for the other ranges. Get it straight to your mind and let the other people know too.
Wrapping Up
With the handling, a breeze, avoiding the cooking sprays, overheating, and hard water for washing, your All-Clad is going to last a decade. Drying the pan just after washing saves it from water spots and unwanted stains. Plus, invest in good cleaners from time to time polishing with Bon Ami, Barkeeper’s friend, Mr. Mayer’s liquid soap, Dawn Foam, etc.